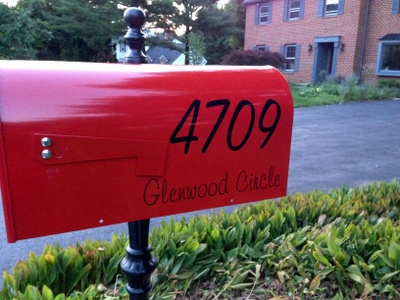
Our house had no mailbox when we moved in. This was our chance to install one that matched our personality; A lovely mix of farmhouse industrial and whimsical curvey appeal! We went for an oversized BIG RED metal box with a delicate black iron base, both purchased separately from Wayfair online.
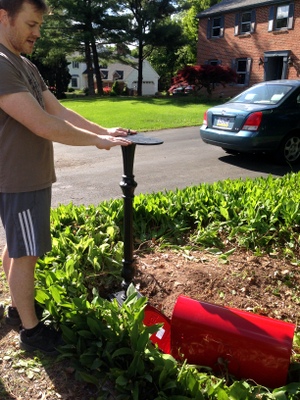
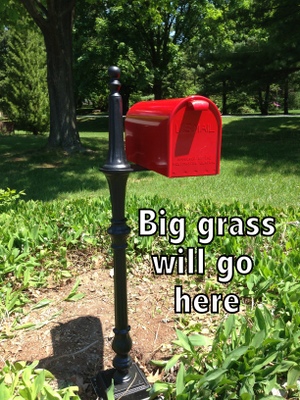
P cemented the mailbox post into the ground. He did a great job! Then Shosh added our address to them.
How did we do this? We used black decal letters and numbers that were custom ordered online. We were really excited to use decals because they stick on easily and do not make any holes in the box! We ordered TWO sets so we could stick the decals on BOTH sides of the mailbox (this is important). Here is how it works:
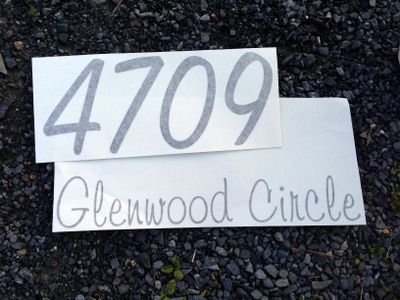
1. We ordered the decal numbers in a larger size than the street name so they could be seen from farther away.
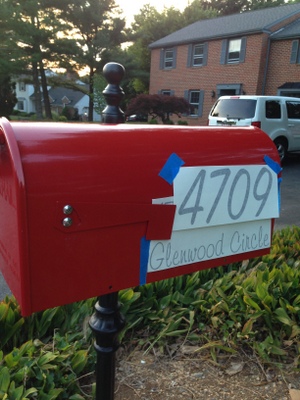
2. We practiced positioning the decals on the mailbox using painters tape.
3. When we had them in the spot that worked well, we marked the corners in painters tape, peeled off the backing (the decals will stick to the top white paper), and carefully placed the sticky paper back on to the spot marked with the painters tape.
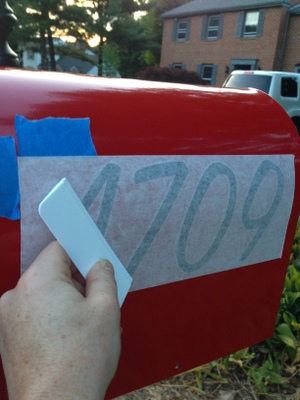
4. Next we took out our handy dandy plastic ‘thing a ma-jig’ that came with the decals, and slowly but firmly pressed the decals onto the mailbox.
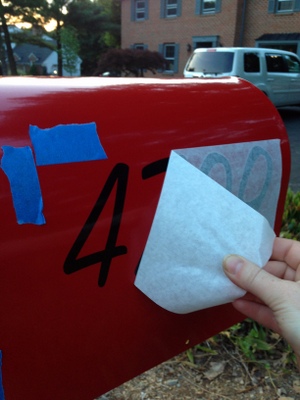
5. Then we peeled the sticky white paper off slowly.
6. Once we completed one side of the mailbox, we repeated it all on the other side making sure it was all in the matching position (a tape measurer helped to do this).
We love how it turned out (although P calls the lettering a bit girly and Shosh rolls her eyes at him).