Right after closing on the new house Paul started tearing down the walls. We have six weeks to get demolition done before we move in! (don’t worry we already have a plan of what to smash up!)
Side note: P is my super hero when it comes to home renovation. He can figure his way into and out of most every dilemma. When anyone asks me how he knows so much about how houses work I simply reply, “He’s from Vermont”. He learned most of it from his grandfather Bob (who is from Massachusetts (just in case you wanted to know).
So here is what P ‘broke down’ in order to ‘fix’ our house to function better for us:
FOYER wall looking into kitchen BEFORE & AFTER:
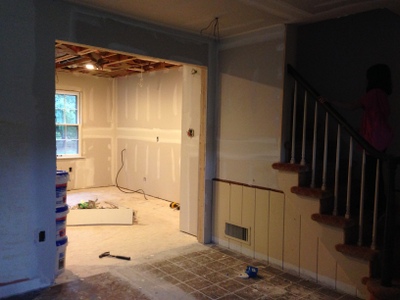
Paul opened up the foyer by knocking down the plaster wall that separates it from the living room, as well as the doors leading to the kitchen. He created a new header and now when you walk into the home, it feels open and you can see right into the ‘soon to be’ spacous kitchen area.
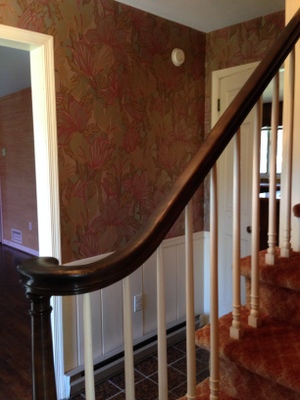
FOYER wall looking from kitchen BEFORE & AFTER:
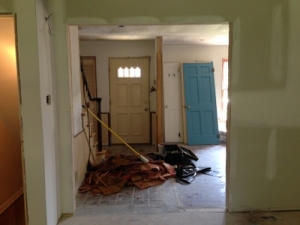
Here is another view looking toward the front door. Basically the wall with the cabinets right up to the microwave was knocked down.
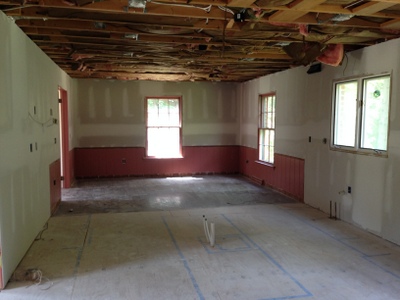
LIVING ROOM BEFORE & AFTER:
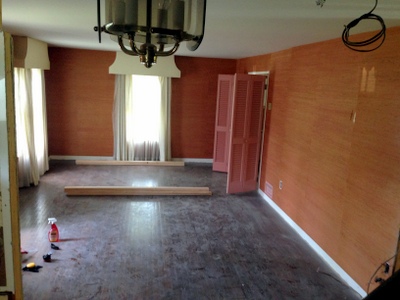
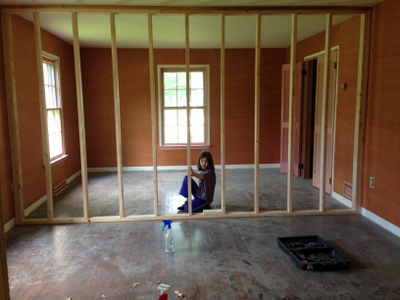
The living room was not a functional space for us and it is such a long room that our answer was to create two working spaces out of it; a smaller living room and a home office.

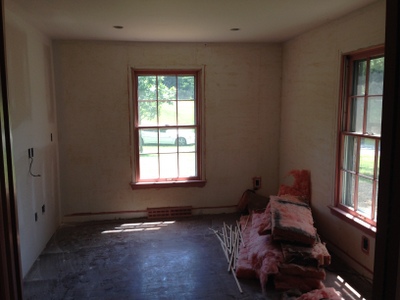
Here is the new smaller living room. And here is the new office!
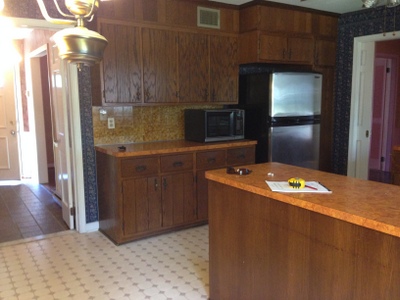
KITCHEN ROOM BEFORE & AFTER:
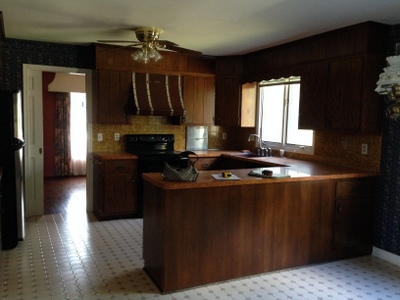
After selling the kitchen cabinets we brought down the wall separating the dining room from the kitchen to create a large eat in kitchen. We are not a big family and prefer casual dining so the ‘dining’ room would not have been used. This works for us. Also while demoing we realized we have radiant heat in the ceiling throughout the house and now need to address it. Argggghh!
BASEMENT ADDED CLOSET BEFORE & AFTER:
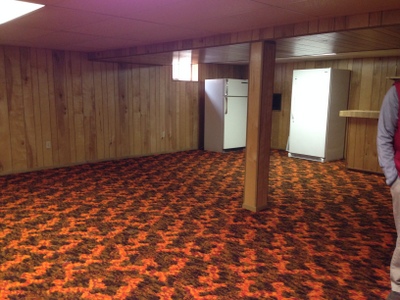
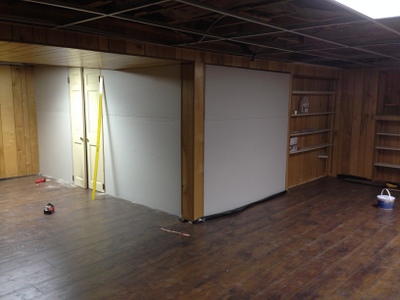
This basement is right out of the 1970s. Paneling wall and orange and brown shag carpet. The downside to this basement is that it only runs under half the house. The rest is a crawl space that is very interesting to me. For the last nine years I have been spoiled with a large finished basement and we have a ton of things to store so we unfortunately need to take part of the finished area and create a storage closet. And notice the large freezer? We could not get it out of the basement so we built the walls around it! We also recycled the doors from the main floor foyer as the entrance to the new closet.
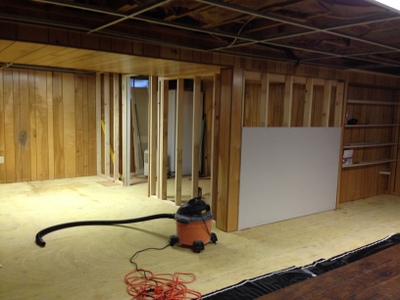
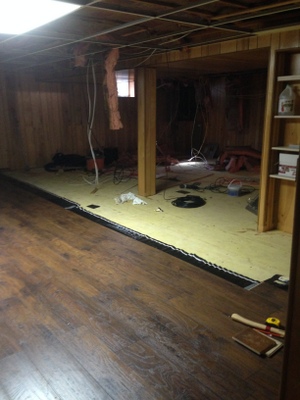
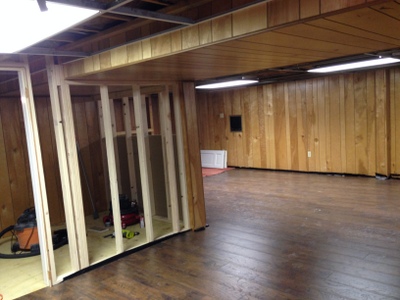
P tore out the carpet, then once the walls were up, installed a nice laminate floor. We will do something very fun with the new sheet rocked walls, and paint the paneling, but until I feel like getting out the latex gloves, mask and the primer sealer, it will stay like this. We also added new 2′ long ceiling panels that have a bit of a teriyaki chicken smell to them. We are waiting it out.
SHOSH NEW CLOSET BEFORE & AFTER:
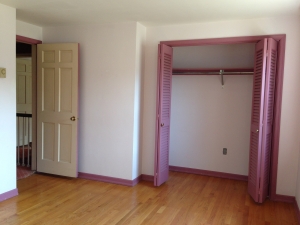
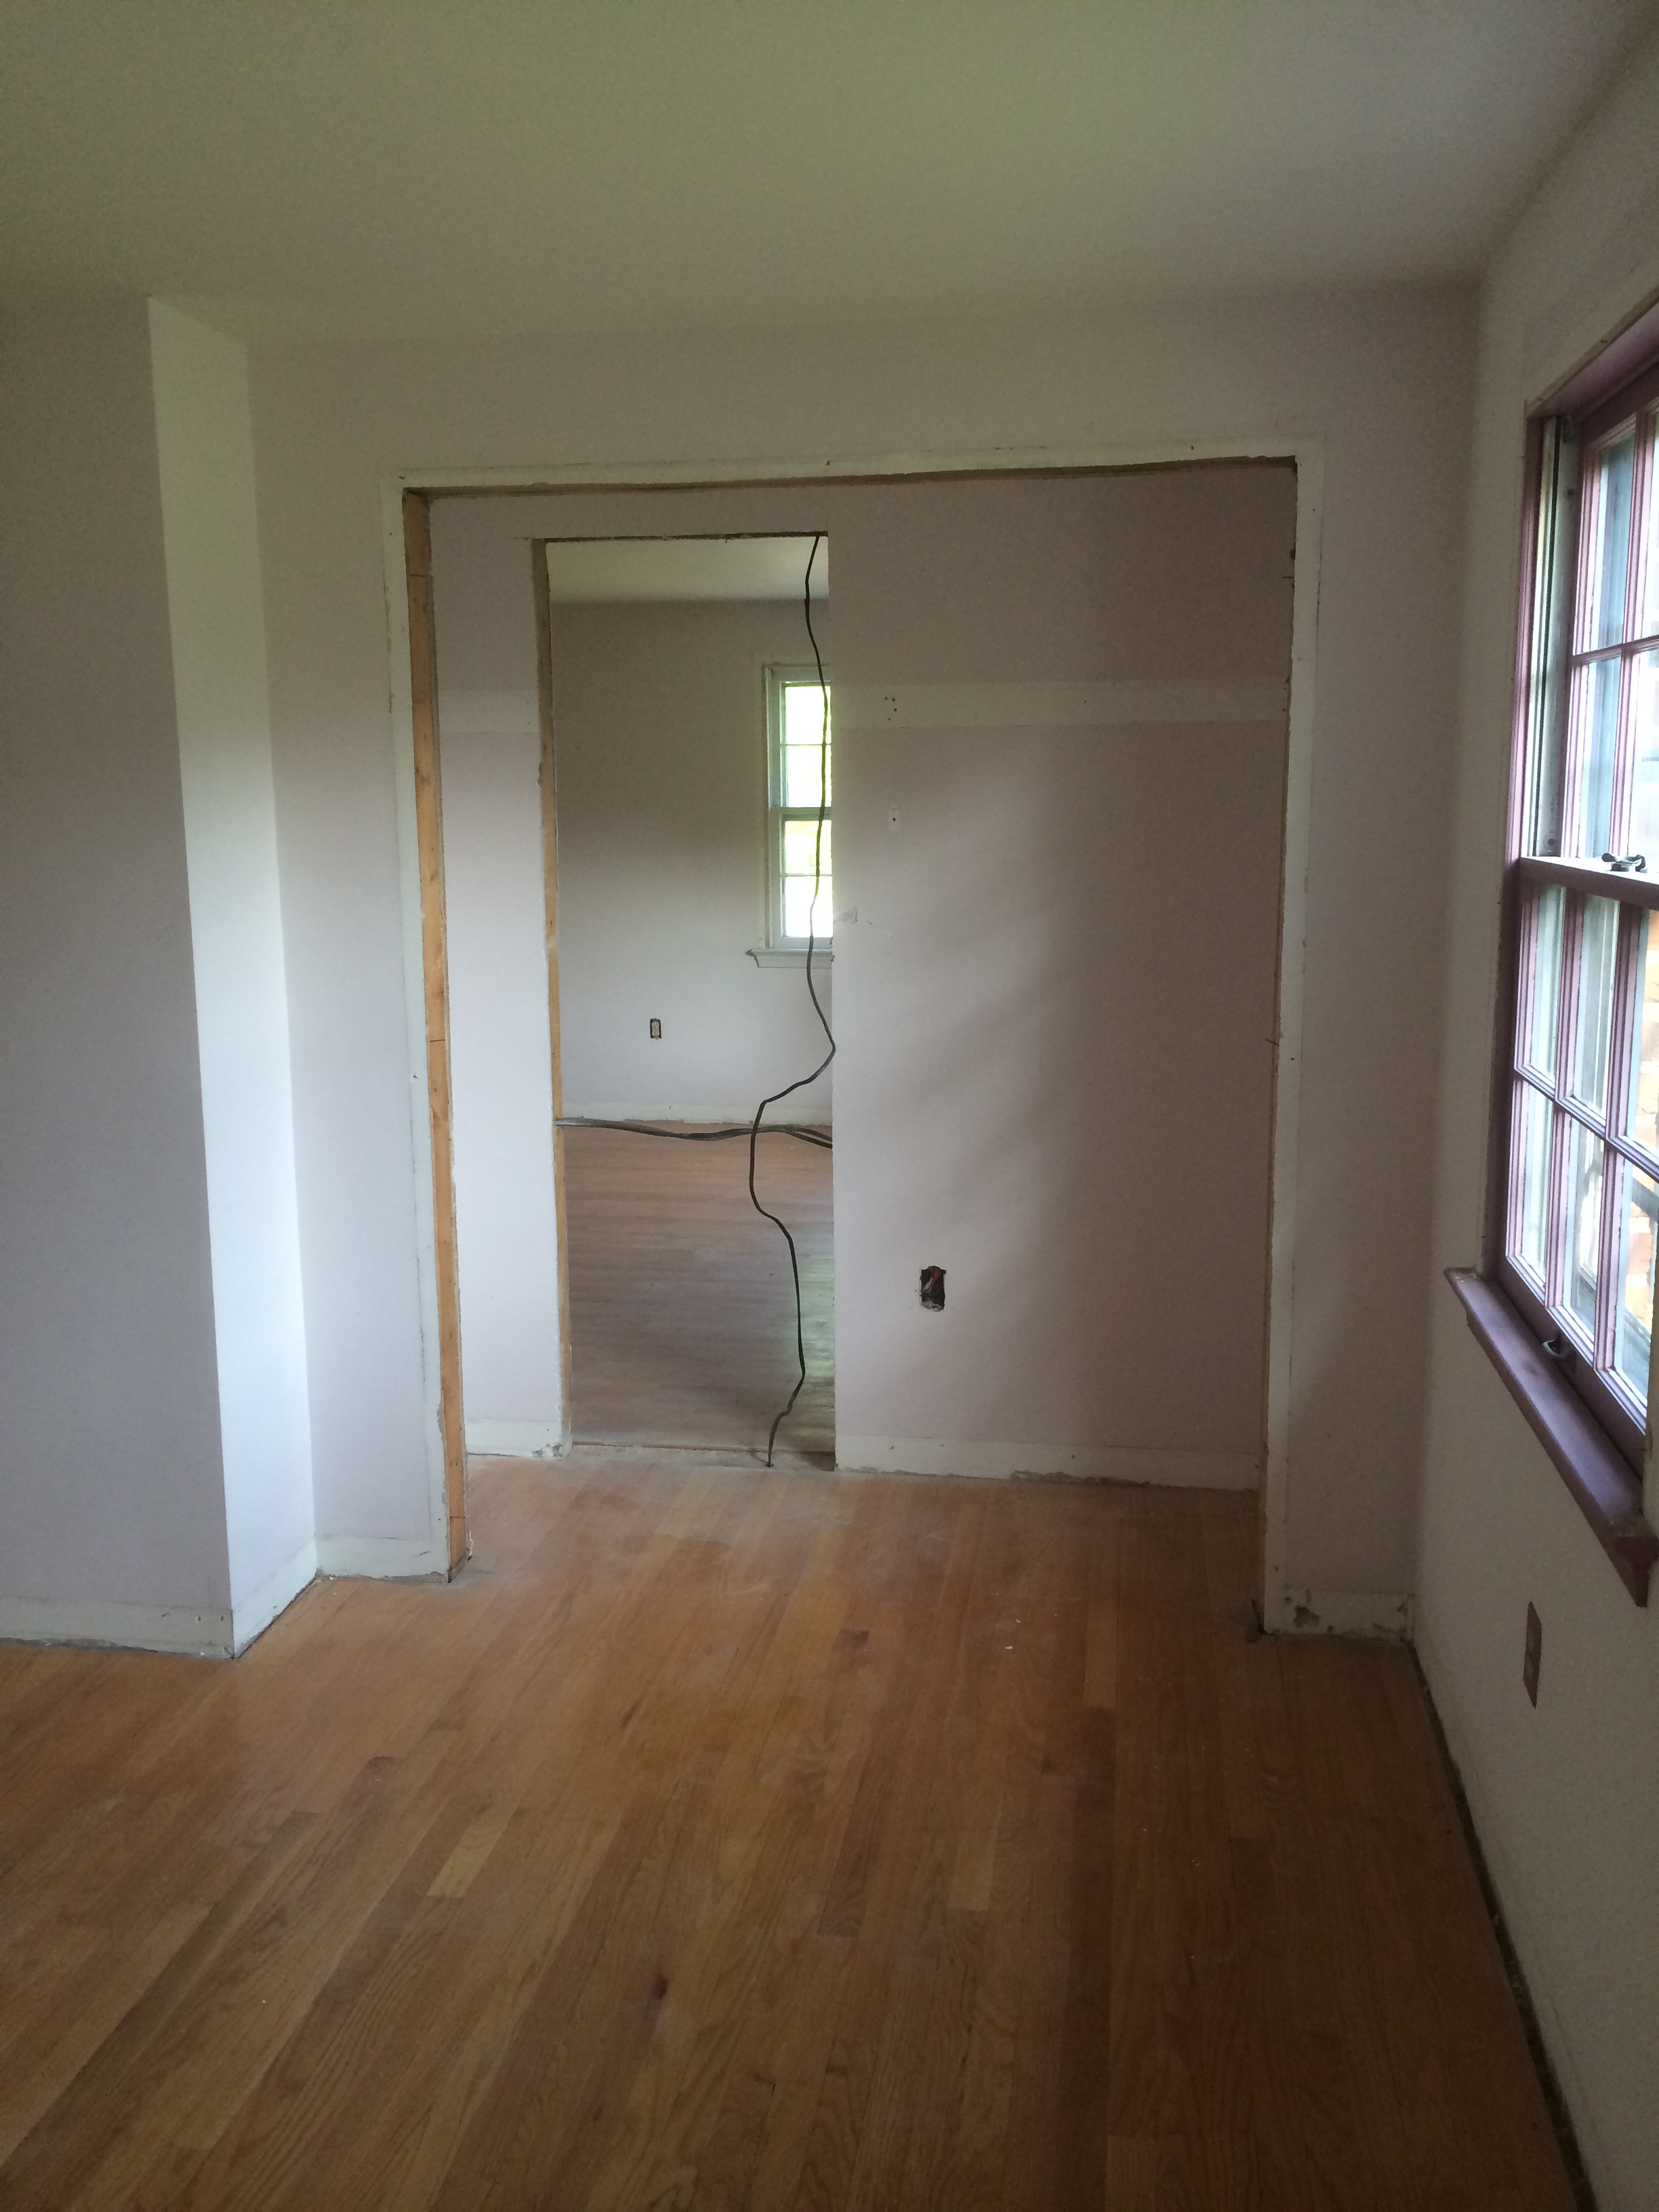
P quickly realized that the closet (see the pink closet) in the fifth bedroom is right behind the corner of our master bedroom so we are turning it into the master bedroom closet. Check out the new opening in the photo to the right!
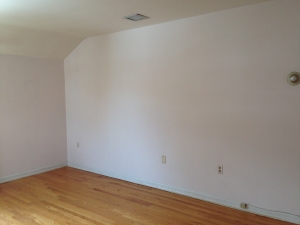
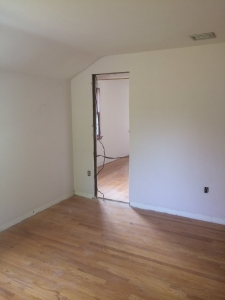
Here is a picture of the corner of my master bedroom. And here is the new opening into the fifth bedroom!
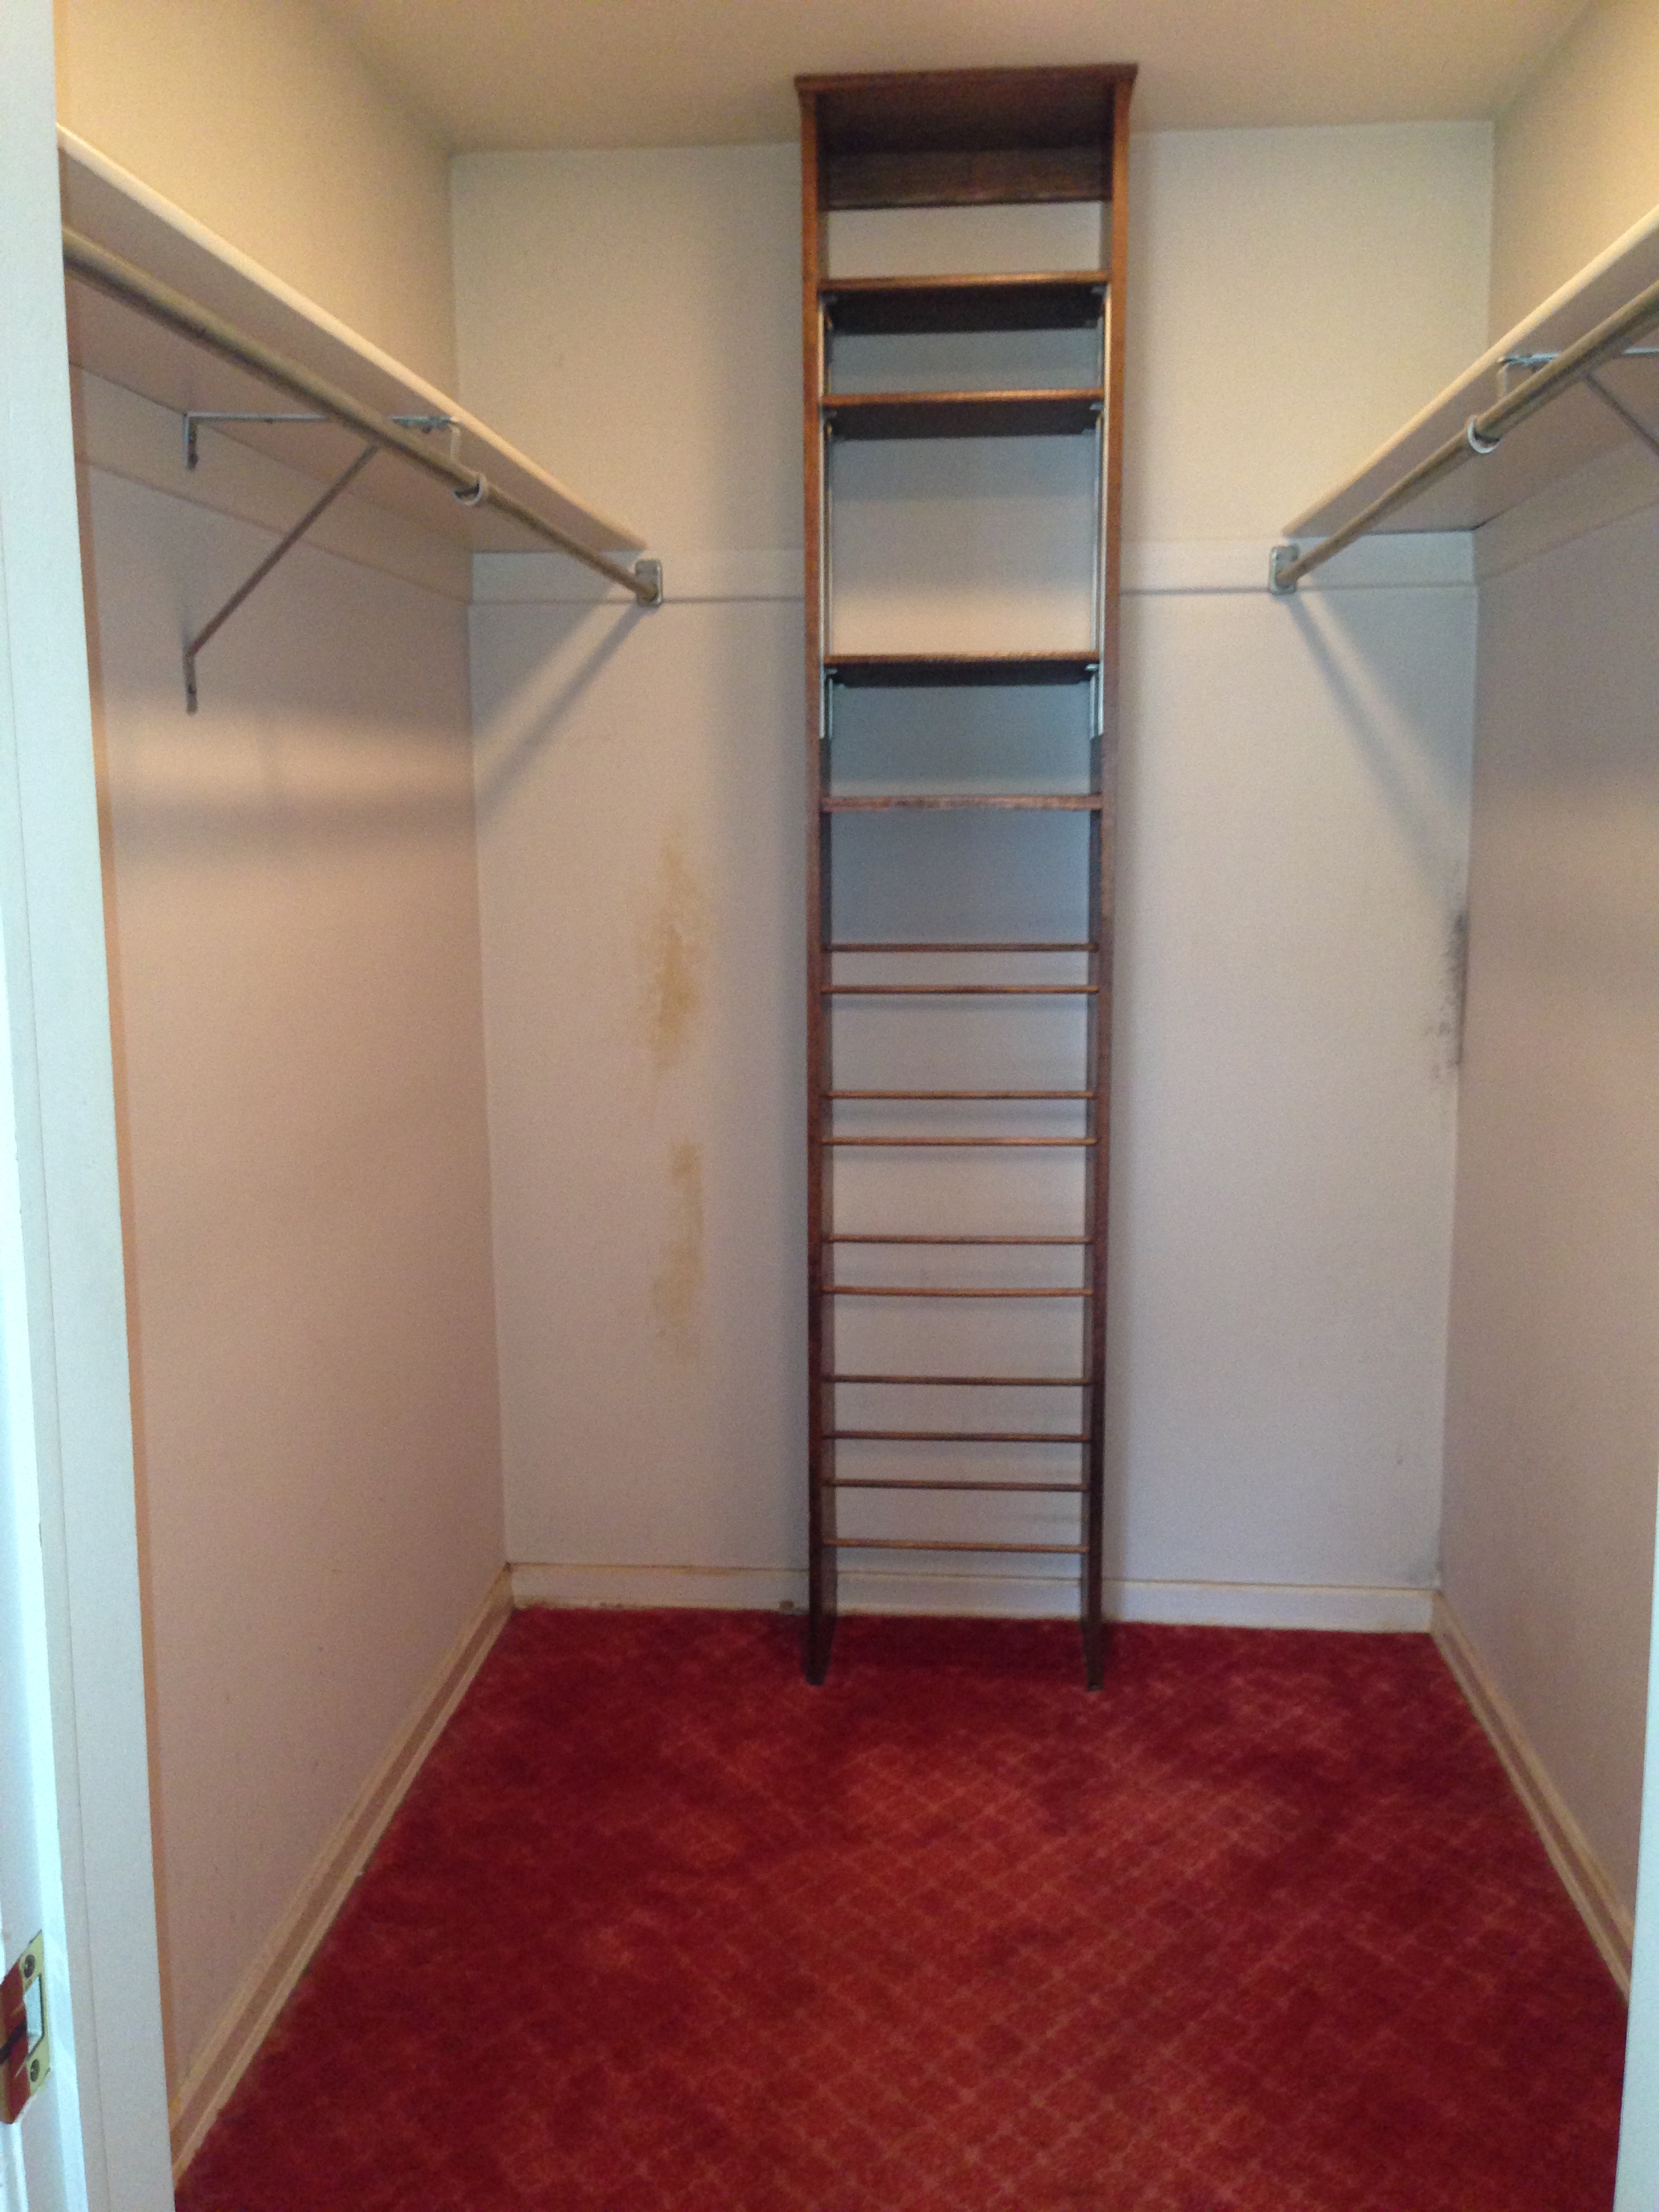
Here is a photo of the original master bedroom closet. P and I each had our own closets in our last house that were about this size so I am over the moon about this new closet idea!